Understanding the Basics of Troubleshooting
Troubleshooting electronics can often be a daunting task. When you encounter an issue with a device, it’s crucial to approach it methodically. The first step in any troubleshooting process involves a detailed examination of the unit. Look for any obvious signs of wear and tear, burns, or loose connections on the device. If everything appears visually intact, then you can proceed to the next crucial step.
Checking Power Supplies: Your Next Move
After confirming that there are no visible problems with your device, the next essential action is to connect it to a power supply safely. Power supply issues often contribute to device malfunction. Therefore, you should check the power supplies as a priority. Use a multimeter to measure the output voltage and ensure it aligns with the specifications. If the power supply is not functioning correctly, it’s likely that your device won’t operate properly either. Most any supply has the same voltages, 5, 12, -12 and 24 occasionally you will also find 3.3 and some other reference voltages but make sure you check that the voltage is there within tolerance.
Sometimes you’ll encounter a bare circuit board with no external power supply – but that doesn’t mean you can’t test it. Start by looking for onboard voltage regulators, which indicate local power conversion points. If you can’t locate any regulators, you can carefully supply power externally (typically GND and 5V rails) and observe the board’s behavior.
If you’re unsure where to start, identify a few major chips on the board and look up their datasheets to find their power pins. This gives you reference points for where power should be present and at what voltages.
Watch for these key indicators:
• Feel for chips that become unusually hot
• Check if your external supply gets pulled down or overloaded
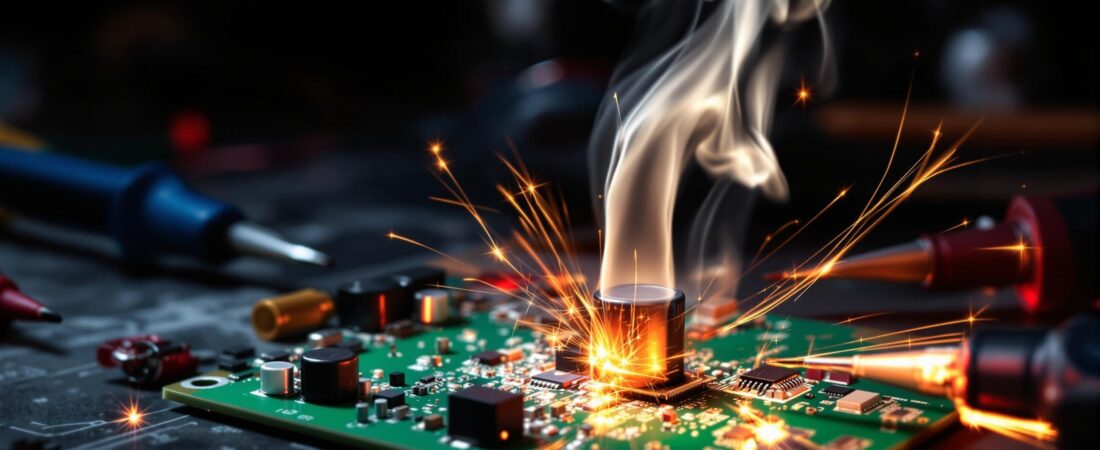
• Look for any visual signs of stress on components
Final Checks and Remediation
Once you’ve confirmed the power supplies are functioning as intended, continue your troubleshooting by testing other components of the device. Pay special attention to connections, circuit boards, and other internal aggregators. Mapping out these components can help in identifying any underlying issues that may not be immediately visible. Remember, thoroughness during the troubleshooting process can lead to successfully restoring your device to full functionality!